I hear some people ask!
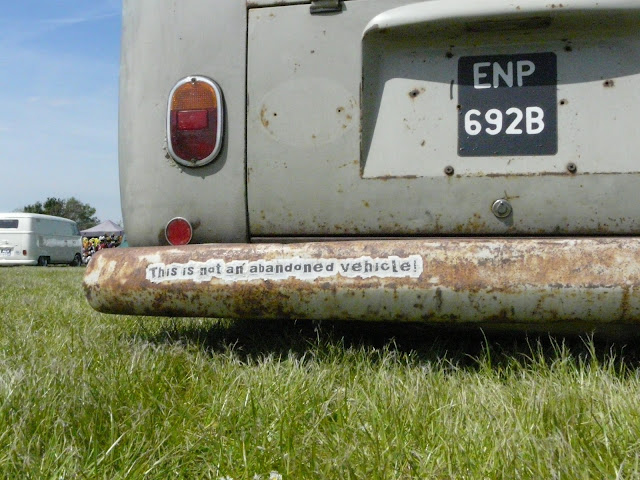
Let's face it, most people want to get rid of rust, as it can be potentially dangerous (think of a ships hull or critical part of machinery). But when I thought of writing this post I suddenly realised how much I am drawn to rust. Because I have a large collection of 'rust' photos....

I love the texture and atmosphere they create and I have an album for photo textures, because they look great added as another layer underneath a photo. A bit like mixed media only digital! I must make time to play more in Photoshop Elements....
But as well as taking photos of rust, I like to use it for putting prints onto paper and fabric...
Because this is what happens.....
And when you put the paper and photos together, you get this....
In a previous post I showed how I made this book. So if you missed it at the time and want to know more here is a link.
But sometimes I don't want to use photos, I want to create a rust effect that has texture!
So here are two ways I have done this:
If you saw my post about a workshop I attended this weekend you would have seen this ATC card. Here is a link if you missed it and want to see.
We created this effect by using DecoArt paints and texture paste. It looks pretty effective, don't you think? This is a review of products rather than a tutorial but if you want to learn how to do it Mark Gould has other workshops planned for 2016.
By coincidence I was running my own workshops that weekend and had also planned a rust effect. So I thought it interesting to compare the two different ways of achieving this.
This time I used RUSTING POWDER by Craftynotions. It is quick and effective, so just what was needed because my workshops were part of a larger event and I only had an hour to complete the project.
Since I had planned this as a future tutorial let me take you through the process...
Starting centre left and going down:
1. I rubbed Kraft card with an ink pad using 2 different shades of brown.
2. I then put the card through an embossing folder (Tim Holtz)
Centre right going down:
3. I lightly inked the raised image to give definition using dark
brown (you could also use black if you prefer)
4. Here's how to add the rust powder!!
Roughly brush areas of the card lightly with PVA glue.
Sprinkle the rust powder onto the glue, tapping excess off.
It you have time leave time for the glue to dry, although I often continue straight on to the next step without a problem.
Spritz the rust powder with vinegar or water. I have found white wine vinegar works well for me and I usually give 2 coats, leaving it to dry in between. A heat gun can speed the drying if you are in a hurry.
The vinegar creates a chemical reaction and you quickly get a rust effect.
Warning: It also makes you think of fish and chips (though it might not have this effect if you live outside UK)!
5. To finish, lightly go over the raised areas with a graphite pencil to increase the effect.
In conclusion, both products gave good result and I will continue to use these. However, I plan to experiment more with using the rust powder on card to see if I can create more definition.
Meanwhile, let me quickly show you another example of creating deliberate rust effects:

These are called Ratty's and I won't say much more now because I promised a review of products and this could easily become rusty ramblings! However, if you are interested I did post about Ratty's here and my Steampunk book here.
So, I hope this post answers the question:
'Why would you WANT to create a rust effect?'
But what do YOU think?! I'd love to know your thoughts, and your own experience of using rust or rust effects. Or may be one of the other things mentioned has sparked a memory or idea? Please do tell! Thanks for popping by, it's great to have company!
Tomorrow is my final day of the 30 Day Blogging Challenge. I will be telling you how I got on and what I learnt. Hope to see you then.


