Friday 13 February 2015

A YEAR IN PHOTOS, 2015 - WEEK 6

This is my 5th year of Project 365 and rather than have my photos sit on my computer I have decided to share them here weekly.
Welcome to week 6:
 

Day 36. I am wondering whether to paint this unit or leave it wood.


Day 37.  Ingredients for making Gesso. The recipe worked really well and I have made a second pot since.


Day 38.  A day with friends at a local Crop. I didn't think to take a photo of us busy at work, but I did take a photo of this book made by a friend while I admired it!


Day 39.  The water isn't very clear at the moment and I love the reflection of the sky when it is.


Day 40. A play day. I cut a shape into plastic to use as a stencil.  If it works well I will make many more using other designs.


Day 41.  Another day experimenting, this time I printed onto wood and card using my Gelli Plate. I loved the effects it made.

 
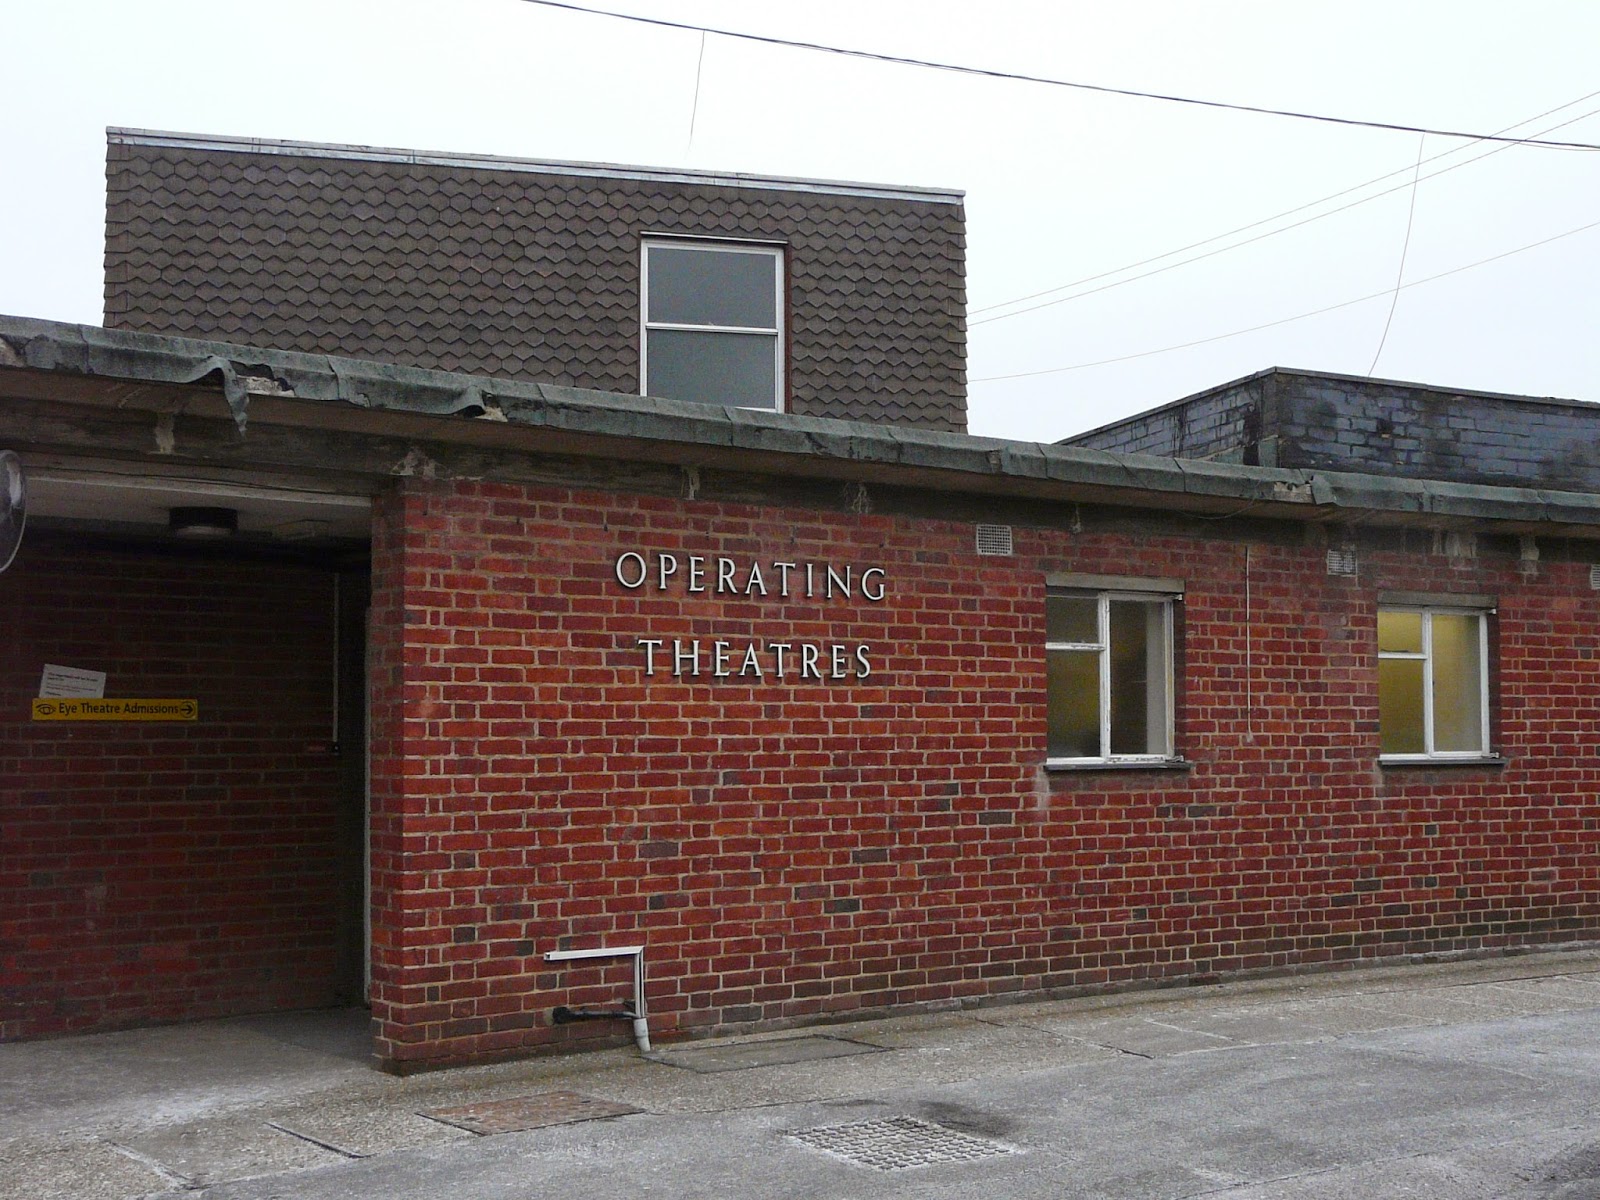
Day 42. Some of our local hospitals are high tech and well designed. Somehow this one has been overlooked.


Thank you for popping by and I hope your own week has been a good one.  I'll be back next week with more photos.

GELLI PLATE MEETS LASER CUT

I finally took my Gelli Plate out of it's packaging this week. You know how it is, you HAVE to have something and then it sits unused for months and months!  I have never used a Gelli Plate before but I was surprised at my immediate results. There were no rejects or practice pages as I was able to rescue any prints I didn't like by adding another print layer.  My pile soon grew and I plan to scan and print some of my favourites so that I can keep the original. That way I can reproduce a design when ever I choose.

For anyone who doesn't know what a Gelli Plate is, here is a link which also shows a demonstration.


Having gathered a lovely pile of prints my excitement grew. As a laser cut design team member for That Craft Place I had been looking for inspiration for two particular projects so the next day I
decided to take a risk and use my Gelli Plate. I had no preconceived ideas or plan, but just rolled on the paint and played. Here are the finished projects and in case you would like to try out any of these ideas, how I made them. 

PRODUCTS USED for both projects:
Laser Cut designs from That Craft Place
PaperArtys Fresco Chalk paints - Mermaid, South Pacific, Little Black Dress, Nouget, Guacamole
Gelli Plate and brayer
DecoArt Mat Medium
Sheet of card for the background
Flitter Glue and foam pad (to apply)
Craftynotions Guilding Flake - Copper Thunder
Chipboard letters - Funky Foam would also work (you could cut your own if you have a die/cutter)
Archival Black ink pad
PaperArtsy stamps
Stencil for Butterfly Frame (I used a sheet that is designed to cook ovenchips, it is sold in Poundland (UK) and it makes a great
grid effect).
TOP TIP - look around your home for interesting items that will make impressions in the paint. Just in case you are wondering I do have a separate sheet that I keep for cooking!


BUTTERFLY FRAME:


1.  I put small drops of paint onto the Gelli plate in a random pattern using 3 drops Nouget and 2 drops Little Black Dress. I used the brayer to spread the paint so that the colours blended but did not mix completely. I placed the grid stencil onto the plate, lifting, and repeating in a random fashion to leave impressions. I then laid the laser cut frame onto the Gelli Plate to make the first print. 
NOTE: If you have paint left on your Gelli Plate don't waste it. Use a piece of card or thick paper and build a collection of prints to use as background designs for other projects

2. Next I made the background to fit inside the frame.  I randomly put drops of Mermaid, South Pacific, and just a little Little Black Dress paint onto the Gelli Place and used the brayer to spread the colours without mixing them.  I then had the idea of using the clock face as a stencil as I love the large numbers and the butterflies. I
placed the clock face down onto the Gelli Plate then removed it.
This lifted the paint leaving an impression. I  placed a sheet of white card onto the Gelli Plate and gently rubbed the back to get an even print. When I lifted the card the clock face showed as white.

3.  I put a mix of Guacamole and Mermaid paint onto the Gelli Plate and used the brayer to spread. I laid the row of butterflies onto the paint to give colour.  I also added a hint of this paint in a couple of areas of the frame.  Using Nouget paint, I stamped a small text onto the butterflies and then used Little Black Dress paint to
lightly edge the outline of the butterflies.

4.  I cut the background print so that it was slightly smaller than the frame. Then using PVA I glued it onto the back and smoothed it down. I then glued the frame into position. 
To finish,  I added a stamped quote in the corner and painted the letters with Little Black Dress. I applied a little FlitterGlue onto a foam pad and applied this to the grid stencil.  I stamped this onto each of the letters one at a time and added Guilding Flakes. I rubbed the excess flakes away using a small scouring pad or your
finger.  I glued the letters into position and then covered the finished project with Matt Medium. 

BUTTERFLY CLOCK:


1. I randomly put drops of Mermaid, South Pacific, and just a little Nouget paint onto the Gelli Place and used the brayer to blend the colours leaving slight variation. I placed the clock face down onto paint and repeated until the whole surface was covered.
2. I chose a small swirl stamp and applied FlitterGlue using a pad. I stamped this onto the butterflies one at a time, keeping within the outline, then added Guilding Flake. As before, I removed excess and gently buffed. 
3. To finish I stamped the seed head onto the centre of the clock face, and tips of the stamp onto the numbers to give more detail and continuity. Finally I covered the completed project with Matt Medium.  


PLEASE NOTE:
When using paint and FlitterGlue on your stamps wash immediately after each use so that it does not dry.  I use warm soapy water and an old toothbrush.

So, that's what I have been up to this week.  I have had great fun and my Gelli Plate will not be packed away as I know it will be in regular use from now on. If you have any questions or want more information about these projects or the Gelli Plate please let me know. Meanwhile, Lisa over at That Craft Place has an amazing collection of Laser Cut designs ranging from small packs of shapes to larger projects. The link again is here and I'll be back soon with more ideas and projects.

Thanks for popping by and your comments are always very welcome and appreciated.
 
  
Related Posts Plugin for WordPress, Blogger...