Showing posts with label rust. Show all posts

Thursday, 12 November 2015

HOW TO CREATE RUST EFFECT - A REVIEW OF PRODUCTS

'Why would you WANT to create rust effect?'
I hear some people ask!

Let's face it, most people want to get rid of rust, as it can be potentially dangerous (think of a ships hull or critical part of machinery).  But when I thought of writing this post I suddenly realised how much I am drawn to rust. Because I have a large collection of 'rust' photos....

 
I love the texture and atmosphere they create and I have an album for photo textures, because they look great added as another layer underneath a photo.  A bit like mixed media only digital! I must make time to play more in Photoshop Elements.... 

But as well as taking photos of rust, I like to use it for putting prints onto paper and fabric...

Because this is what happens.....

 And when you put the paper and photos together, you get this....

In a previous post I showed how I made this book.  So if you missed it at the time and want to know more here is a link. 

But sometimes I don't want to use photos, I want to create a rust effect that has texture!

So here are two ways I have done this:
  
If you saw my post about a workshop I attended this weekend you would have seen this ATC card.  Here is a link if you missed it and want to see.

We created this effect by using DecoArt paints and texture paste. It looks pretty effective, don't you think? This is a review of products rather than a tutorial but if you want to learn how to do it Mark Gould has other workshops planned for 2016.   

By coincidence I was running my own workshops that weekend and had also planned a rust effect. So I thought it interesting to compare the two different ways of achieving this.  

This time I used RUSTING POWDER by Craftynotions. It is quick and effective, so just what was needed because my workshops were part of a larger event and I only had an hour to complete the project.


Since I had planned this as a future tutorial let me take you through the process...


Starting centre left and going down:

1. I rubbed Kraft card with an ink pad using 2 different shades of brown. 

2. I then put the card through an embossing folder (Tim Holtz)

Centre right going down:

3. I lightly inked the raised image to give definition using dark
brown (you could also use black if you prefer)

4. Here's how to add the rust powder!! 
Roughly brush areas of the card lightly with PVA glue.
Sprinkle the rust powder onto the glue, tapping excess off.
It you have time leave time for the glue to dry, although I often  continue straight on to the next step without a problem. 
Spritz the rust powder with vinegar or water. I have found white wine vinegar works well for me and I usually give 2 coats, leaving it to dry in between. A heat gun can speed the drying if you are in a hurry.
The vinegar creates a chemical reaction and you quickly get a rust effect.

Warning: It also makes you think of fish and chips (though it might not have this effect if you live outside UK)!

5. To finish, lightly go over the raised areas with a graphite pencil to increase the effect. 

In conclusion, both products gave good result and I will continue to use these. However, I plan to experiment more with using the rust powder on card to see if I can create more definition.

Meanwhile, let me quickly show you another example of creating deliberate rust effects:


These are called Ratty's and I won't say much more now because I promised a review of products and this could easily become rusty ramblings! However, if you are interested I did post about Ratty's here and my Steampunk book here.


So, I hope this post answers the question:


'Why would you WANT to create a rust effect?'

But what do YOU think?!  I'd love to know your thoughts, and your own experience of using rust or rust effects. Or may be one of the other things mentioned has sparked a memory or idea? Please do tell!   
 
Thanks for popping by, it's great to have company!

Tomorrow is my final day of the 30 Day Blogging Challenge.  I will be telling you how I got on and what I learnt.  Hope to see you then.

Wednesday, 9 September 2015

ALICE FOX - LOST AND FOUND WORKSHOP - TWO

I had so many photos and projects from my recent LOST AND FOUND Summer School that it is hard to chose which ones to share.  But as I showed some of the rust printed fabric and paper in my previous
post today I will show one of my completed projects: a small book that uses an Australian Hidden Piano Hinge.

I have used this binding technique before and love it's versatility. You can use different colours and patterned card to create effects but I won't provide a tutorial on this occasion as I am focusing instead on the materials I used.   

First I liberally painted a sheet of thick cartridge paper with green tea and placed rusty objects onto the surface. I made sure the objects were in as much contact with the paper as possible and covered it with a sheet of tissue paper which had also been painted with green tea.  This meant the rust would transfer onto both sheets of paper (two for the price of one) and that the tissue would help to stop the paper from drying too quickly.  This gives more time for the rust to create its effect and I waited a couple of days.  Luckily I had lots of other things to get on with so I wasn't too impatient!  And this is the result.  Can you see a spanner, and other marks left by the rust?  I discovered that the overall effects can be pleasing.....

 
But when cut up they can be even more so....

Alice uses a lot of stitch in her work and encouraged us to experiment. Here I stitched around a small white area to create texture. 
 
Remember the spanner?  I wanted to make a feature of this. 
 
So I cut the sheet into 2 strips and folded them lengthways. Then I cut 2 sheets of plain paper to fit inside, forming a signature.  
 
I made another 3 signatures using complimentary papers. 


 Then I created them into a book using the rust printed papers as front and back covers.


We added binding and name tags when making some of our other prints
and I loved the way these took on colour. I wanted to include these so I used the thread to stitch around the hinge binding and left the name tag attached. 

And on the back I added more stitching, using thread to match the colour of the rust.

I enjoyed making this book and I will add the Australian Piano hinge design to my list of upcoming workshops.   And there are other books that I made at the Summer School so I will be back with more.  Thanks for looking in!
 

Sunday, 6 September 2015

ALICE FOX - LOST AND FOUND WORKSHOP - ONE

Last week I spent 4 wonderful days at ArtVanGo in Hertfordshire.  I was booked on Alice Fox's Summer School called LOST AND FOUND and people had travelled from Yorkshire and other distant places to attend.  Not only was the workshop full but there were as many people on the reserve list so I considered myself very fortunate to be there.  Not only that, but others paid to stay in local hotels and accommodation. Me?  I stayed free of charge in a pub car park. That's the joy of having a campervan and being sufficient!

But enough of that. Let's talk about the Summer School.  My heart still flutters even when I think of it!  I had SO looked forward to this! Kev and Viv are owners of ArtVanGo who were welcoming and I felt very looked after throughout my stay.  I was also among a lovely bunch of fellow students and in response to a photo I shared on Facebook a friend in Amsterdam commented that she knew someone else booked on this course.  It turns out this mutual friend was sitting right opposite me and that we had struck up a friendship. This creative world gets more connected and smaller all the time!

But I digress again.  See, I told you my heart was a flutter! I am
so full of ideas and memories that it is hard to settle.  But I will try. Here goes!!

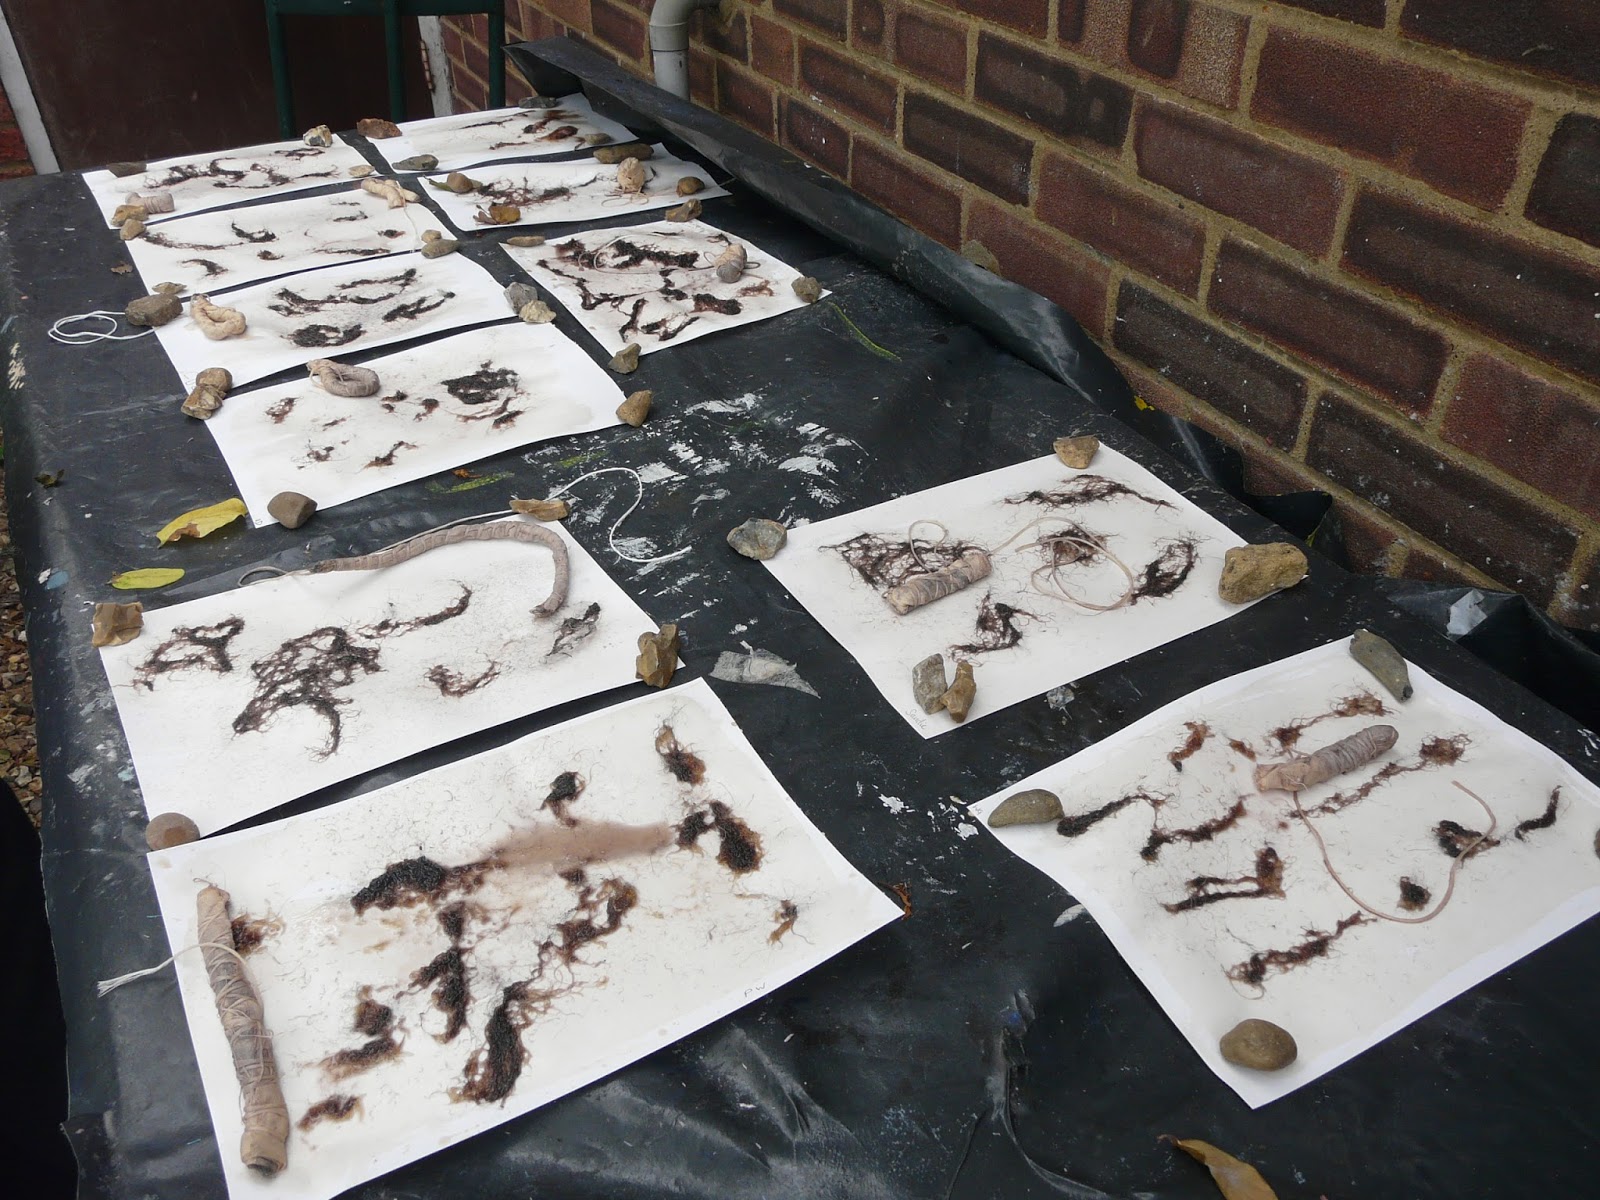
The workshop was about creating prints and designs using found materials - rust, plants, string and such like. You get the idea. We started straight away, and I couldn't believe that by lunch time on our first day we had already been so productive!  Alice is a brilliant tutor, very relaxed and informative, there when you need her and giving encouragement and opportunity to develop your own ideas. She had provided a wonderful supply of fabric and card/paper to experiment with, and also an extensive collection of materials to use.  I shared just a few of these on my previous post.

I have learnt to make my own journal/notebook when I go on workshops as I had a habit of loosing my notes and sample pieces. So now I collect these together and I will write another post explaining more how I do this. Meantime you can see my first signature bottom right.


We started by making prints with rust on card and after watching Alice demonstrate we lost no time in choosing from our stack of materials. I chose a sheet of thick cartridge paper and painted it with green tea. There were other mordents available, so lots of opportunity to experiment. Luckily no one drunk the red wine and we discovered this made a beautiful pink dye!
 
 
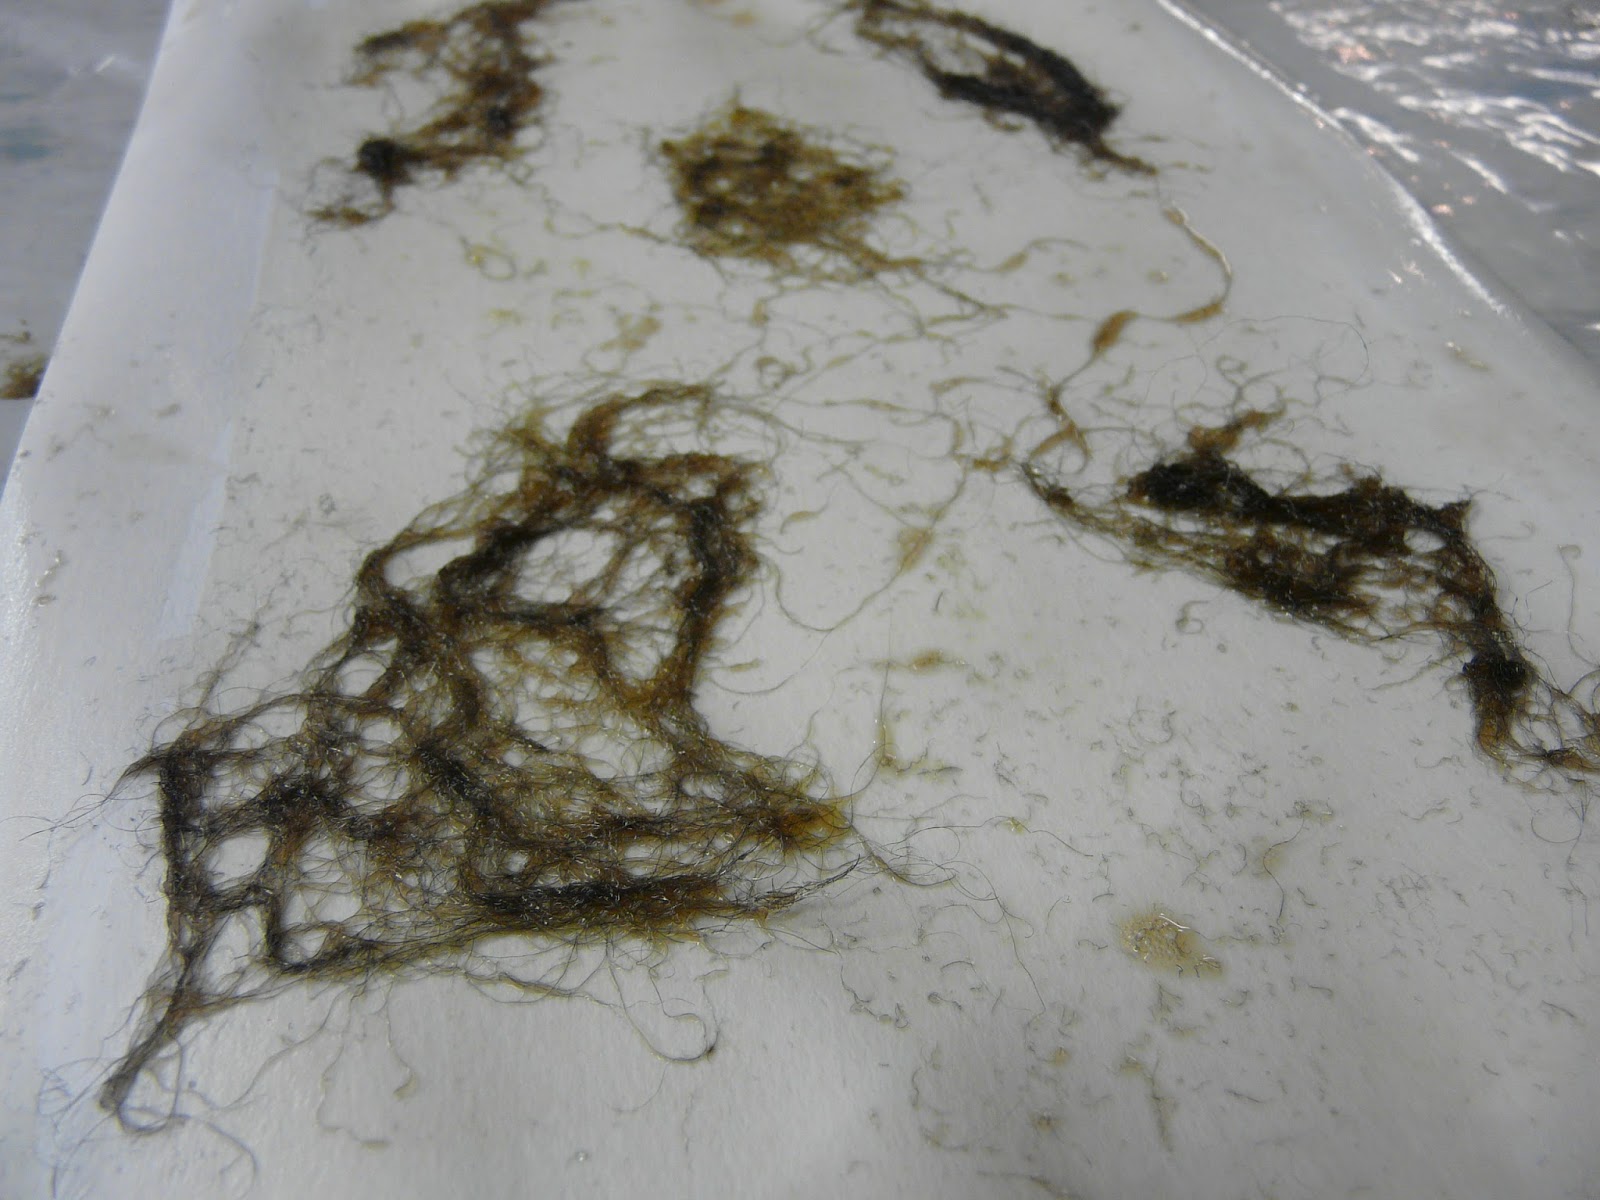
After painting my page I added wire wool and another layer of green tea to make it hold fast to the paper.  It is important to achieve as much contact as possible.
 
After, Alice showed us how to use fabrics.  This time we wrapped around rusty mails.


I decided to use a random effect for my second bundle. After
wrapping we left the bundle in mordant to soak for a short time so that it was evenly saturated.


We put our work outside and learnt to be patient.  The wire wool started to show  a reaction very quickly which was exciting,  but we wouldn't know what the wrapped items would look like until they were untied.  This is a very unpredictable process, full of surprise.  And we had to wait several days to get the best effect!   
And when my bundles were unwrapped this is what I found. A wonderful pattern of different colour marks.  

Here you can see a third piece of fabric where I laid other rusty objects onto the surface, rather than wrapping.  This creates a very different effect.

And remember I started by putting wire wool onto a sheet of card? This is the result. Isn't it fabulous?! 


Now I know some people will shake their head in wonder.  My friend Jill is a fine example and I know she won't mind me saying! But if like me you like using materials to create something unique and unpredictable then these are great techniques. I love this organic look and having the opportunity to create something beautiful from something that was found or thrown away. Luckily four days allowed us to come home with some finished projects, some work in progress  and a large selection of printed fabric and papers, ready to use.
Alice had so many examples and ideas to share and we were extra lucky as an exhibition of her work was displayed in ArtVanGo at the time of our visit.  So to end, I will show you a quick selection.  Thank you Alice for giving permission to share these photos and more examples and techniques are in Alice's wonderful book called Natural Processes in Textural Art.


And to see more examples of my own work, come back soon.  I am planning another post or two! 
Related Posts Plugin for WordPress, Blogger...