Showing posts with label printing. Show all posts

Tuesday, 10 July 2018

5 in 5 - July 2018 - Printing, traditional Japanese style

Welcome to '5 in 5' where on the 5th of
each month I post 5 photos that I have 
taken in 5 minutes.


Thank you if you have been celebrating 5in5's 
5th anniversary with me and visited over the past 5 days. 

This is your last chance to win one of my handmade books and here's how to enter: like my page, leave a comment, or link. Each one counts. 
⟺⟺⟺⟺⟺⟺⟺⟺⟺⟺⟺⟺

And to finish the celebrations, here is this month's 5in5 collection:

Do you have Art Trails where you live? 
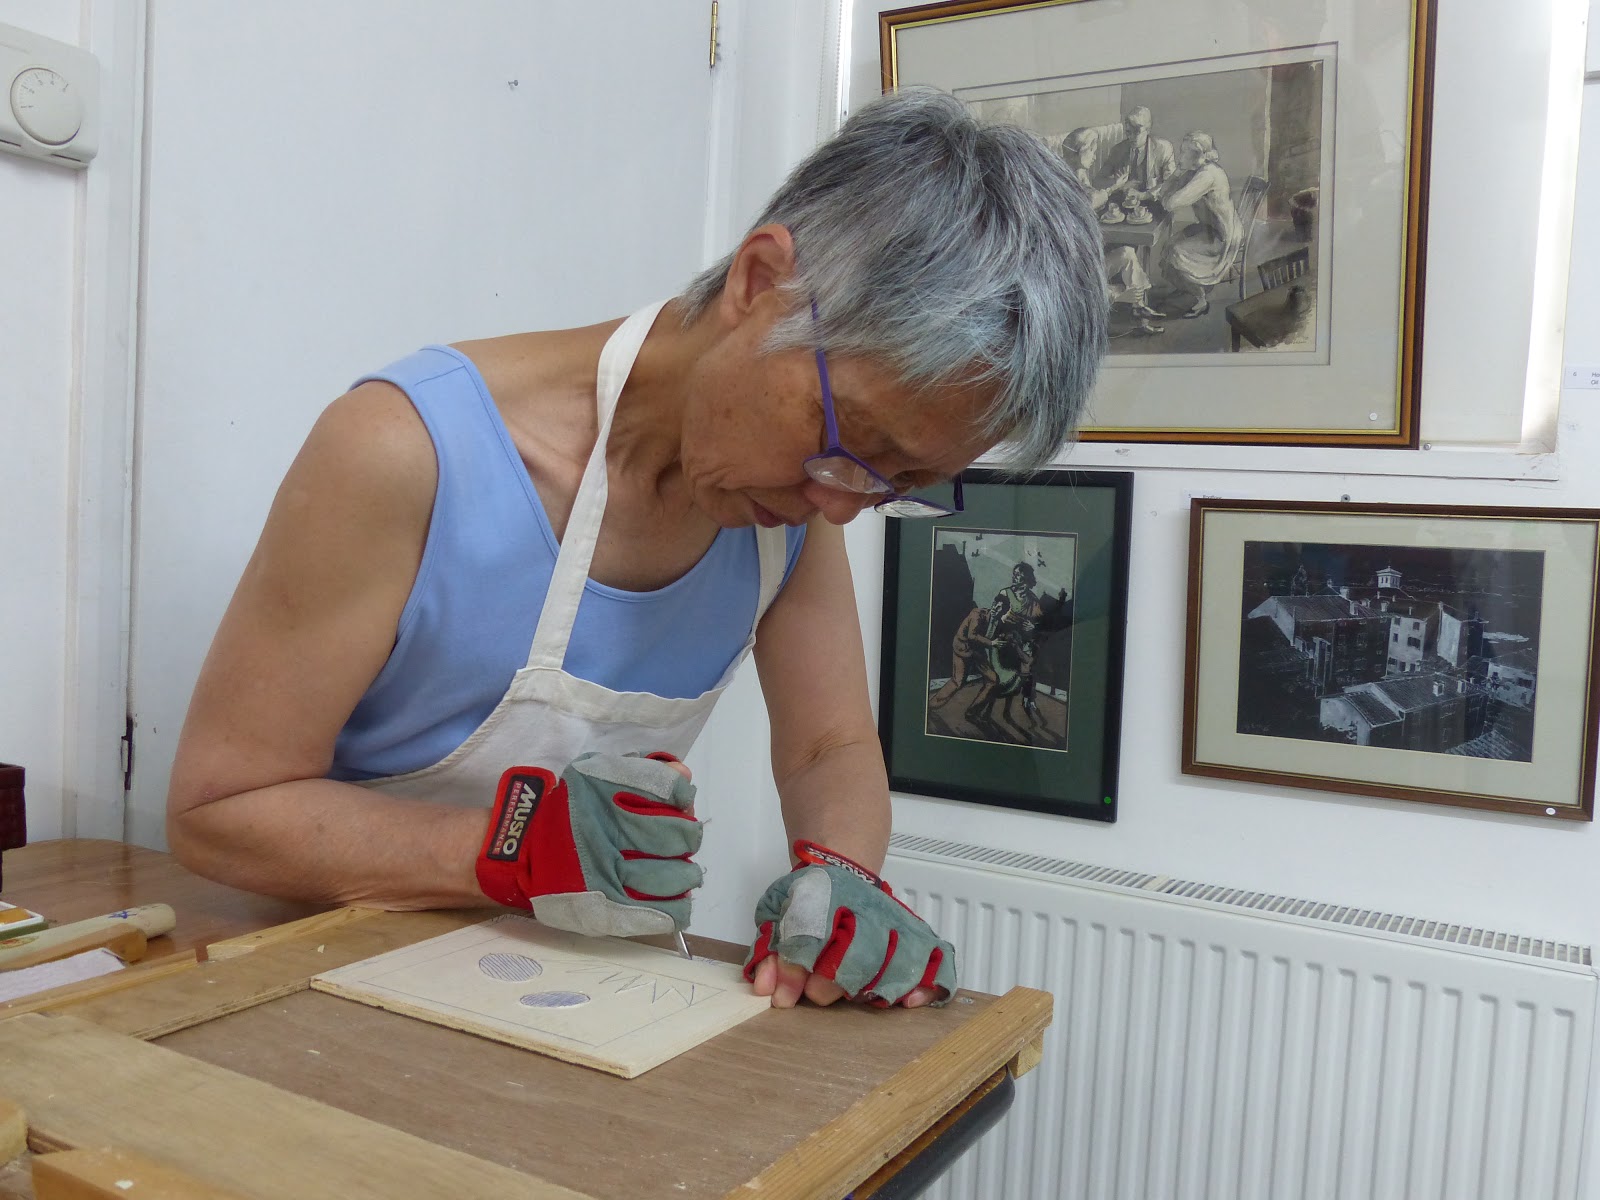
At this time of year here in UK, lots of artists open their studios, or display their work as part of art trails.  I love to visit when I can and last week I was especially pleased to visit the studio of Japanese print maker Akiko Fujikawa. Akiko uses traditional woodblock printing methods and tools, and cutting the designs is a skill in itself.  Most designs have several colours, each one requiring a separate woodblock and printing process. Registration is the term used to position the paper so that the different colours print in the right place, without overlapping or leaving gaps. There is skill in creating the design, the woodblocks and the printing process. 

The tool below is a 'baren'. It is used to burnish the back of paper when transferring ink from the woodblock. This baren was handmade in Japan by a master craftsman, and apparently cost £600! I had to ask Akiko to repeat this as I thought I misheard.  But no. It seems baren making is a dying art, and you can wait 3 years to have one made by traditional methods.   


Excuse the poor quality of photo below, but it shows some of the stages of making a baren. Akiko explained that you take a dried bamboo leaf and gently peel away individual fibres to make long threads. These are carefully twisted to make strong but fine lengths (see photo), then woven into mats. These form the underside of the baren, then layers of rice paper are added, one sheet every day. In total it takes 53 days to make one baren and the final layer is a bamboo leaf, twisted and tied into place.  It is very strong and a beautiful piece of craftsmanship. 
Who would believe this simple tool involves so much time and skill in it's making?


Bamboo leaves have many uses. Akiko makes brushes from the fibres, they are very fine and beautifully made. 


I learnt so much from visiting Akiko and will never look at print making in the same way again. It was a privilege to see these traditional methods being used and honoured.  Maybe one day I will go to one of Akiko's workshops and learn even more. 

Thank you for visiting.  If you would like to join in this month's challenge you have until 25th to take your photos and post a link to your blog. Here's how it works:

1.  Choose a location.

2.  Have your camera ready.

3.  Set a mobile timer for 5 minutes.

4.  Take as many photos you can until the time is up.

5.  Choose 5 photos to download and share by using the link tool (for this month only please go HERE to link)


   You have until the 25th of the month to add your photos.  

If you want to know more about 5in5 there are details here.

And one more thing - when you use the link tool, please click on your post title.  This will show the web address. Please right click, copy and paste this as your link.  This will take readers directly to your '5 in 5' blog page and be easier for them to find.

I'll be back tomorrow, Wednesday 11th, to announce the winner of the handmade book and it's not too late to enter! Just like my page, leave a comment on any post from 5th July 2018, and/or join in the challenge and add a link. Each participation equals an entry. Good luck and thank you for visiting!!   

Tuesday, 5 June 2018

5 in 5 - June 2018 - The South Asia Collection Museum In Norwich

Welcome to '5 in 5' where on the 5th of
each month I post 5 photos that I have 
taken in 5 minutes.


Last week I visited the 'Turn A Page Book Art Fair' in Norwich and one of my exhibiting friends told me of a place I might like to visit, just round the corner. What I discovered was a hidden treasure!  The building was built as an indoor skating rink in 1876 (this was a surprise in itself) and it was worth visiting just for the building itself. 

But once inside I was immediately transported to the far east, and amazed at the displays and diverse collections on view. Part shop, part Museum, I wondered how I had never heard of The South Asia Collection Museum before, and was very grateful for my friends tip off. The skating rink was not long lasting, and the over the following years the building was used as a Vaudeville Theatre, a temporary home for the Salvation Army, storage for tinned meat, and a warehouse for a building manufacturer. Philip and Jeannie Millward purchased the Rink in the early 1990's and renovated it, making it what it is today. I thoroughly recommend a visit if ever you are in Norwich, and it was the perfect place to take 5 photos in 5 minutes. But before I share these, let me quickly show you the building itself:


Some of the exhibits are large pieces of architecture and furniture.

Upstairs you could look across and admire the beautiful beams and wooden ceiling. Back on the ground floor I set my mobile timer and got my camera ready:

This teakwood spinning wheel was used for winding bobbins, for fabric weaving.


I was excited to see antique wood blocks, used for the printing of fabrics.  I had to add these to the collection I bought in India!


And it was lovely to see examples of dyes used and printing in the museum section.  Upstairs the shop sells fabric and linens as well as clothes. Again everything was beautifully laid out and it reminded me of a recent visit to Liberty's in London.   

Other interesting things I found was this collection of padlocks.  I thought of the beautiful doors I had seen in India that were architectural works of art in themselves. 

This bowl of goat bells attracted me too. So much of Indian wares are beautifully decorated and detailed. 

I could have stayed longer, browsing and admiring the exhibits. But I had gone to Norwich for the Book Art Fair and still had more to see; and so this hidden treasure will be a place to visit again. 

Meantime I look forward to using my new wood blocks. I have a workshop planned 'Inspired by India' where we will be printing our own fabric and Khadi Papers to make book covers, and making a book. I'll be back to show you these another time. 

For now, I invite you to join me in this monthly photo challenge. This is what you do: 

1.  Choose a location.

2.  Have your camera ready.

3.  Set a mobile timer for 5 minutes.

4.  Take as many photos you can until the time is up.

5.  Choose 5 photos to download and share by using the link tool.
   You have until the 25th of the month to add your photos.  

If you want to know more there are details here.

And one more thing - when you use the link tool, please click on your post title.  This will show the web address. Please right click, copy and paste this as your link.  This will take readers directly to your '5 in 5' blog page and be easier for them to find.

Thank you for visiting and I hope you have had some recent good discoveries of your own.

Celebrating 5 years!! 

Next month this monthly photo challenge will be celebrating 5 years! That's a good reason to mark the occasion and I would love to hear any ideas that you may have. Please leave a comment below and I will be back with more news and updates soon. 


Saturday, 19 September 2015

ALICE FOX - LOST AND FOUND - FOUR

In my previous posts here and here I showed two books that I made during the Summer School.  Today I thought I'd share some another technique that we used - eco printing.  I have used plants before to create prints but not in this way, so I was excited to see how easy and effective this was.
 
Alice had collected a wonderful array of plant life and also encouraged us to go outside to forage.


But first she demonstrated the technique:

We folded a sheet of thick cartridge paper in half lengthways, then in half again, and again. Then we unfolded it and in between the folds we placed leaves, petals, and onion skins. 
 

Finally we secured the folds together using bull dog clips. With the paper tightly folded and bound we put it into a bath of green tea to soak thoroughly. 
 

Then it went outside under cover with all the other pieces that we had prepared..... 

Skip forward to day three! 

It takes time for the plants to do their magic and because the layers are so thick and wet patience is needed. Finally Alice gave the go ahead for us to open our pieces! Imagine our excitement!


There were squeals of delight as wrappings were removed.  Some of the fabric and paper was still wet so this was hung on a line or laid out on the path to dry. Luckily the sun was shining and it is best to allow natural drying process, but in some cases desperation took over and we used sources of heat to finish of the drying process.  A heat gun, iron or even hair dryer would do the trick but you have to be careful if your paper is embossed or you want to retain the textures. 

Here I am unwrapping mine:
  
Did you notice the string and label on my wrapping? Well I liked the way they took on colour and I went on to use them on another project linked at the start of this post. On other eco-plant prints we used string as a binding. When removed I discovered this left marks which can add to the design.  But I digress! 

I need to unfold...

 And here is my finished print.   I especially loved the effect of onion skins and when I am in the kitchen I will save all these in future so that I have a ready supply. 


Another technique we used was printing with ink and a brayer. I decided to fill in some of the white space using found items such as feathers and leaves, and because I didn't want to use the holes in the way I originally planned I cut these off. I also cut my page into  strips and stitched these together to make one long strip.  Alice's love of needle and thread is catching! 

I glued the strips of holes onto some of the pages as I liked the detail they added. I plan to add further stitching too, to add texture to the prints.  And I am thinking of adding some text, handwritten, perhaps following the contour of the print...


But for now I am letting the ideas germinate because like the eco prints, these are sometimes best given time to develop. 


I will be using this technique often in future and love the idea of creating prints anytime, anywhere. All I need is paper, plants, and something to bind them. Oh!  And a mug of tea (no milk thank you!)  

I still have more from the Summer School to share but I have other posts waiting too.  So I hope to see you again soon, thanks for popping by.
Related Posts Plugin for WordPress, Blogger...